
How to Launch Your Own Recharge App in Your Brand (Step by Step)
Key takeaways
- You need a brand name, logo, domain and KYC; we handle the technical setup
- Most of the waiting is on Play Store review and your documents, not the software
- Plan your first 20 retailers before launch day
Running your own recharge app sounds like a big tech project. It is not, as long as you are not trying to build the technology yourself. With white label software, most of your work is business work: a name, a logo, documents, and finding your first retailers.
This is the order we usually walk new partners through.
Step 1: Pick your brand name and domain
Choose a name that is short, easy to spell and not already used by a big payments brand. Check that the .com or .in domain is available. If you do not have a domain yet, we help you pick and register one.
Step 2: Get your logo ready
A simple logo in PNG with a transparent background is enough. It goes on the website, the admin panel and the Android app icon. Avoid tiny text inside the logo; it disappears on a phone screen.
Pick a short brand name that is easy to say on the phone. Retailers will recommend you by word of mouth, so "ShreePay" beats "Shree Recharge Solutions Private".
Step 3: Choose the plan
The main question is how many recharge APIs you want to connect. One API is fine to start; more APIs mean a backup route when one is slow. Our plans are one-time: ₹7,500, ₹15,500 and ₹24,500.
Step 4: Complete KYC
Keep your business documents ready: owner Aadhaar and PAN, business PAN, GST certificate if you have one, and business registration. Clear, matching documents save days.
Step 5: Setup and testing
Our team sets up your branded website, admin panel and Android app, connects the recharge APIs and does test recharges. You get admin login and can start adding users.
Step 6: Play Store publishing
Your app is published on Google Play under your brand. Play Store review is outside anyone's control, so keep a little buffer in your launch plan.
Step 7: Set commission and add your first retailers
Before announcing anything, set commission slabs for distributors and retailers, add five or six retailers you personally know, and let them use it for a few days. Their feedback is worth more than any brochure.
What it looks like on launch day
| Item | Your brand | Handled by |
|---|---|---|
| Website | yourbrand.com | A1Topup |
| Android app | Your name and icon on Play Store | A1Topup |
| Admin panel | Your logo | A1Topup |
| Retailers and distributors | Your network | You |
| Commission and pricing | Your decision | You |
Mistakes we see new brands make
- Launching publicly before testing with a few trusted retailers
- Setting retailer commission so high that the distributor level earns nothing
- Keeping too little wallet balance in the first week
- Not having one person who answers retailer calls quickly
Conclusion
Your own recharge brand is mostly a business decision, not a technology project. Get the name, logo and documents ready, and the software side follows. See how it looks in the free demo or browse our portfolio.
Ready to launch your brand?
See the software live, then pick a plan.
Frequently asked questions
How long does it take to launch a white label recharge app?
Do I need a developer?
What do I need to provide?
Have a question? Talk to our team
Related articles
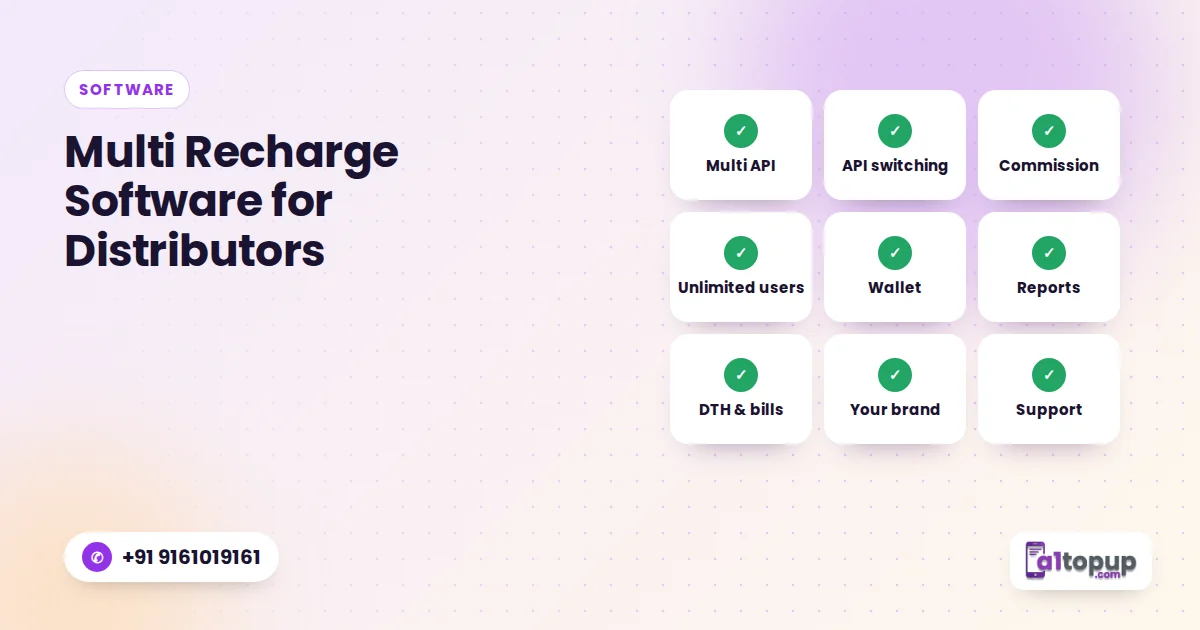
Multi Recharge Software for Distributors: 9 Features to Check Before You Buy
Nine features that separate recharge software that works on a busy Monday morning from software that only looks good in a demo.
Read more →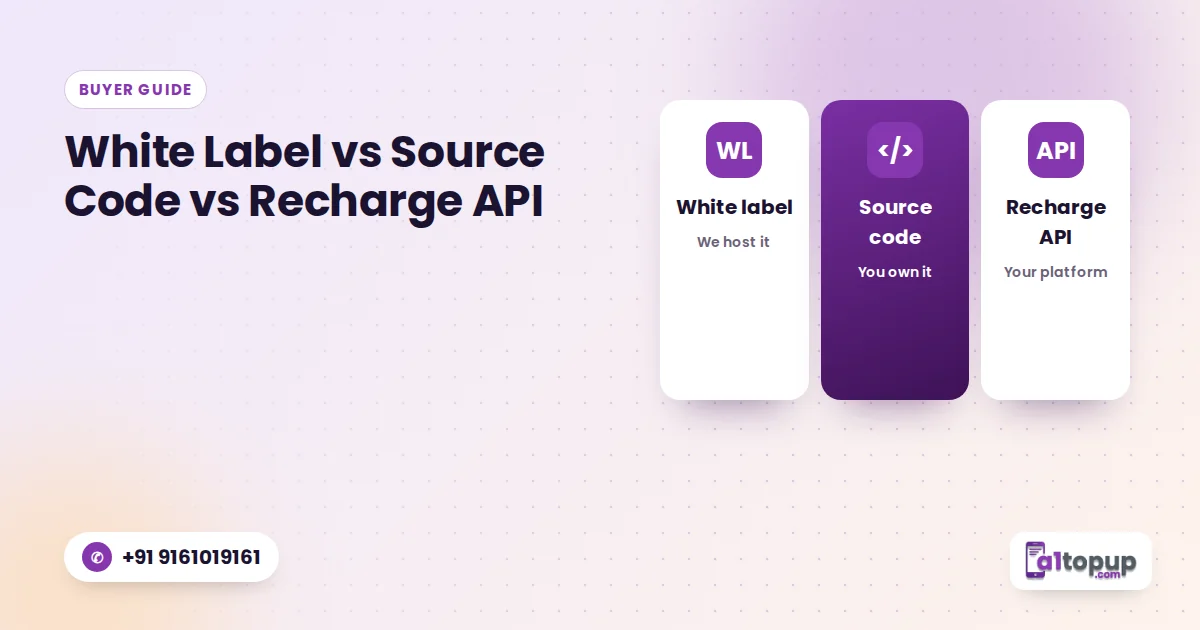
White Label vs Source Code vs Recharge API: Which One Should You Buy?
Three ways to start a recharge business on your own terms. Here is what each one actually means, what it costs, and who it suits.
Read more →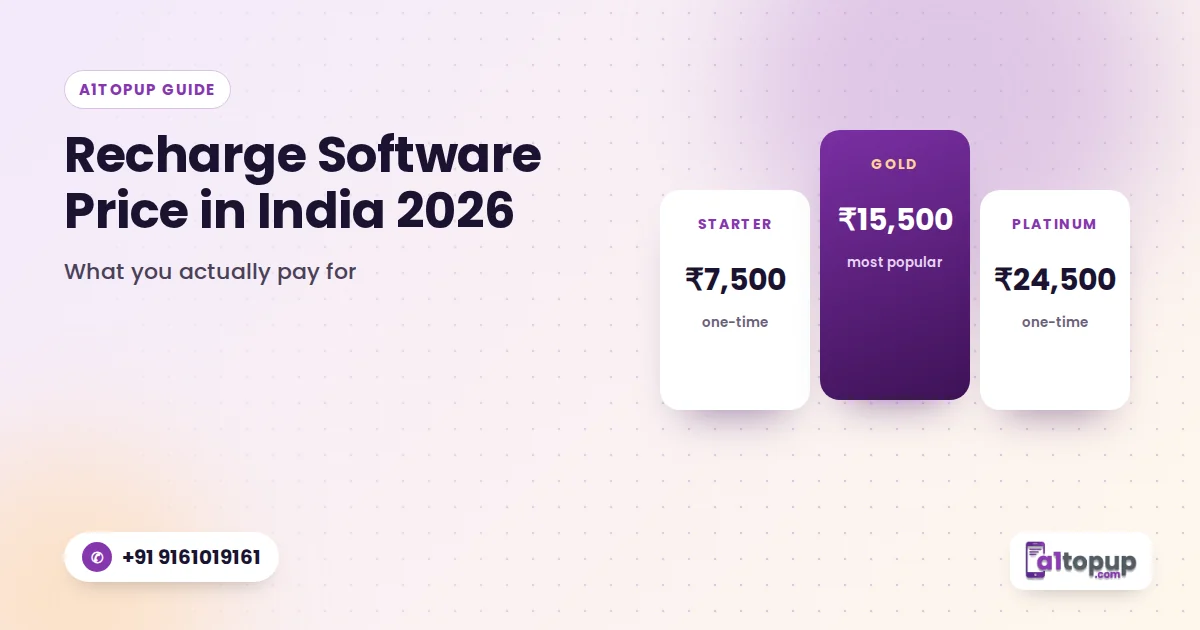
Recharge Software Price in India 2026: What You Actually Pay For
What decides the price of recharge software in India, what should be included, hidden costs to watch, and how A1Topup plans compare.
Read more →